I also plan on finding out how to create a camera at the current view.
The tutor has just shown the class the graph editor. This can be used to see time and the spacial location of objects in one simple graph. The x axis is the time-line and the Y axis gives three dots of information, each describing the value of the the X,Y and Z coordinates of the object selected.
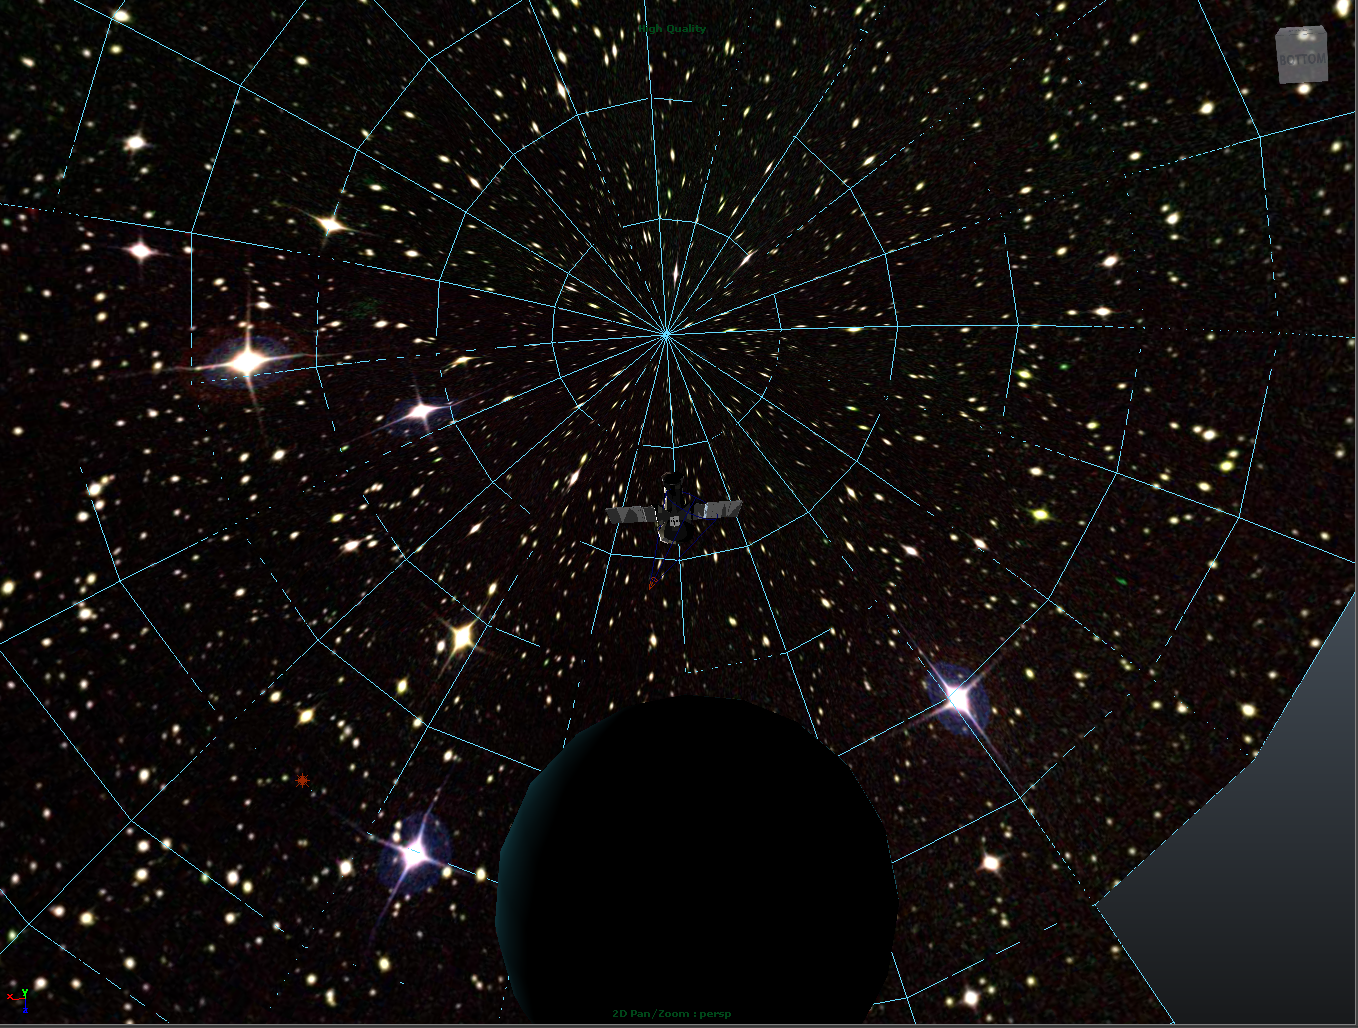
I have downloaded a texture for the space and the globe, to make them look more in place.
Above the image of space looks very muted in comparison to the source image.

Above I have been able change the texture to being a higher quality by cutting the object in half, making it a semi-sphere. I then reapplied the material and it reloaded as being sharper.
Animating:
Attempting to create a globe spin, the spin seems to alter itself and it looks like the planet wobbles more than spins.I just learnt about grouping from my tutor. First of all he was trying to fix the wobble rotation I had created and then showed me animating inside of a group. The only comparison I can draw is where in flash I am able to create a symbol, which can have animations inside of it and be moved all as one.
Basically, the group allows an animation of an object inside of a group that can be moved together, without altering the singular.
An example below is the planet being animated and then placed inside of a group and re-translated by rotation.
To make a moon rotate around the earth, use the up diagonal key to change to centre point selection and move it to the centre of the earth, giving rotation axis.
Using the field chart I was able to relocate the centre of the moon to the centre of the earth, giving a more central gravitation.
I searched how to add an object to a group and have found this link, but it didn't have the explanation I was looking for;
http://forums.cgsociety.org/archive/index.php/t-634036.html
Here I have found a great tutorial, which explains the special duplicate I was unsure of with the tutorial, as well as showing me what I needed to know now. The grouping of objects.
Vimeo Tutorial
With the duplicate special, there is an option to make the initial object the parent of the other duplication so that any changes made to the original, effect the duplicates.
CMD + G, two objects selected
A way of explaining how groups work is that there is a big difference between grouping objects and selecting multiple objects. The difference is group objects work as one object, whereas the multiple objects work on their own and rotate to their own standards.
Camera: to create a cut, simply place keyframe straight after latest and move camera to new location, acts as a cut.


No comments:
Post a Comment