Today I am going back over my journal and filing in any blogs that have not been completed as well as trying out some controls in Maya and seeing what it does.
Something interesting, I just used the extrude on a vertex, like in my second post and it created a width subdivision for the cylinder, but after doing this I click on the chamfer vertex tool (highlighted top left of tool bar).
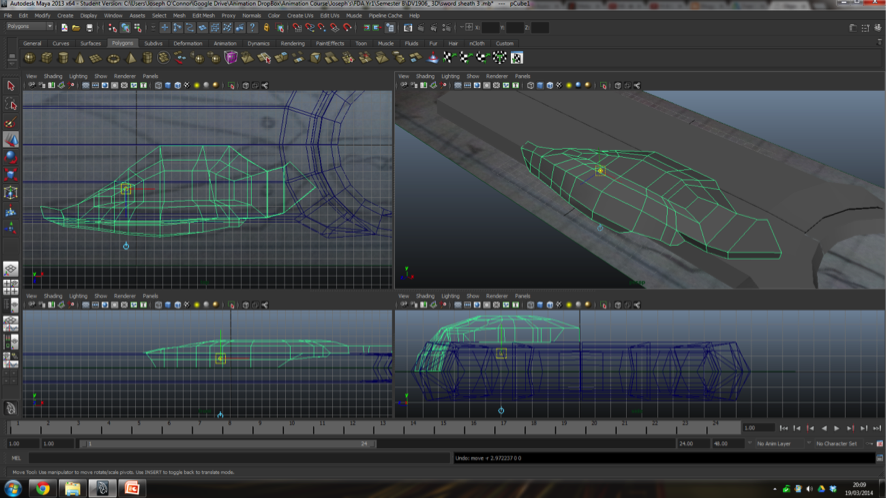
I selected the face at the top, scaled it up and then extruded it. I kept the selection of the face and then rotated it to see how it looked.
On the bottom of the object, I selected the vertex and again extruded.
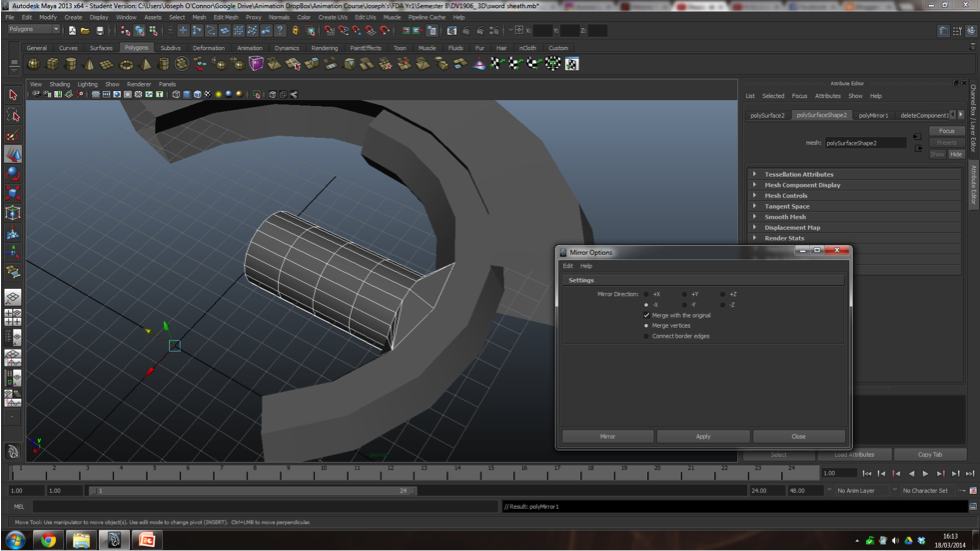
Mirroring the geometry, I seemed to have created a weight. This has fuelled my interest in something I have seen done before. I want to find out how to make a mirror for the geometry as I edit one side. so much like the duplicate special and it's ability to assign a parent that when edited effects the duplicates directly, I want to find out how to create something that constantly mirrors any changes so that all changes can be seen as they are made, rather than mirroring, seeing the effect, undoing the mirror, changing something and repeating the process.
I believe I have found what I am looking for, I looked up the mirror geometry in the tutorial files available online:
MAYA RESOURCES TUTORIALS
According to this page that is a compiled version of all ways to create a symmetrical polygon, I can use the duplicate special itself to create a mirror parent. I can also use Mirror Cut to create a parented geometry. I will check out this method and if it doesn't work as I hope it does, I will fall back on using the duplicate special version.
Just as I had thought, the mirror cut isn't what I want to try, the results are very strange and instead of duplicating the object, it just seems to delete it!
Actually, I am going to try one more thing, I am going to try deleting the face that would be in the middle of the mesh if it were duplicated with it at it's centre and then mirror cutting.
I think that the mistake above was of my own doing, instead of undoing previous mirroring, I had deleted the faces of the duplicated side, however I don't think I deleted one of the duplicated faces as when I went to delete the face (that stays when the mirror cut is elevated, in the picture just above), it appeared as though nothing happened. I figured out that it was the face that was created using the mirror. I have deleted it and will retry mirror cutting.
There is no change to the strange deleting of the object. I will try rotating the object so that when it is duplicated, it looks like the weight is on it's side.
This has fixed the weird deleting thing that was happening.
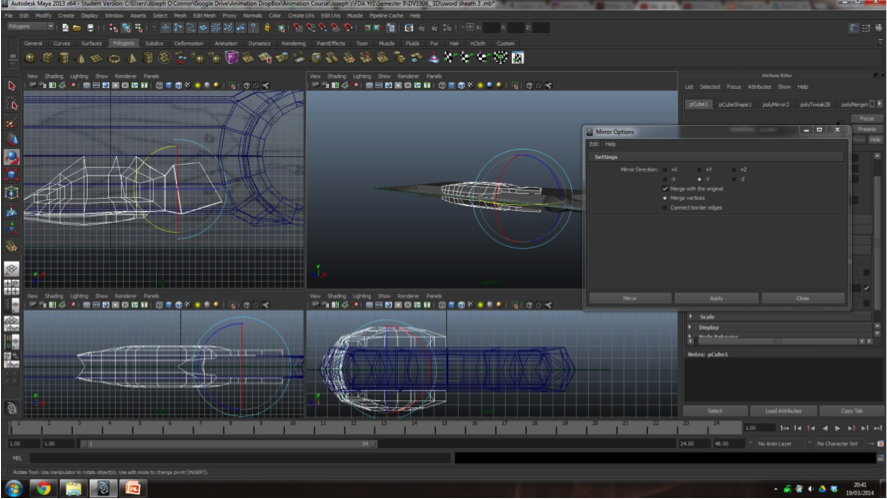
Below I am just testing the limits of the mirror cut.
The mirror cut seems to work, but the objects aren't one object. What I am looking for is the ability to preview one area before I mirror it, so I can edit the main side, the side that acts as the parent, whilst the other is being copied constantly from the parent. Although the mirror cut gives me this, iI still want to try out the duplicate special way, just so I have tried both ways.
Below, the shape isn't exactly mirrored yet, so I need to keep trying with changing the co-ordinates.
The co-ordinates below seem to have given the mirror effect I was looking for. A mirror preview.
This version is a lot easier to manage changes to the parent.
Using the techniques I learnt above, I am going to create a more complex polygon and see how the mirroring works with that. I have a sketch that I created ad will be working off of that.
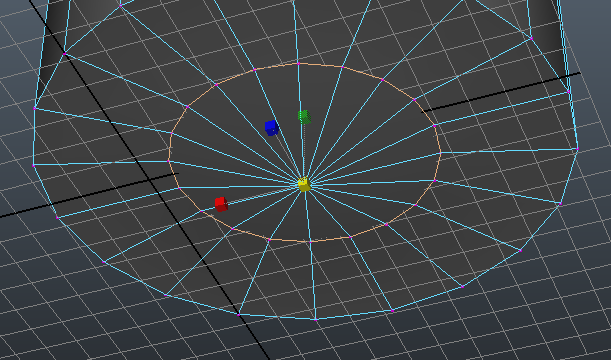
I have deleted the faces I don't want o keep and then I tried to bring the edges in so they covered the centre ring.
I made a silly mistake but learnt something, I tried to bring the edges inwards to cover the middle ring, but because I had deleted the majority of the shape, the centre point had moved. So I undid the deletion, , brought the edges inwards and then I deleted the area of the outer ring that I didn't want.
I will need 8 height divisions in order to make the handle look nice. So I have to undo the deletion, add the extra two divisions and repeat the process.
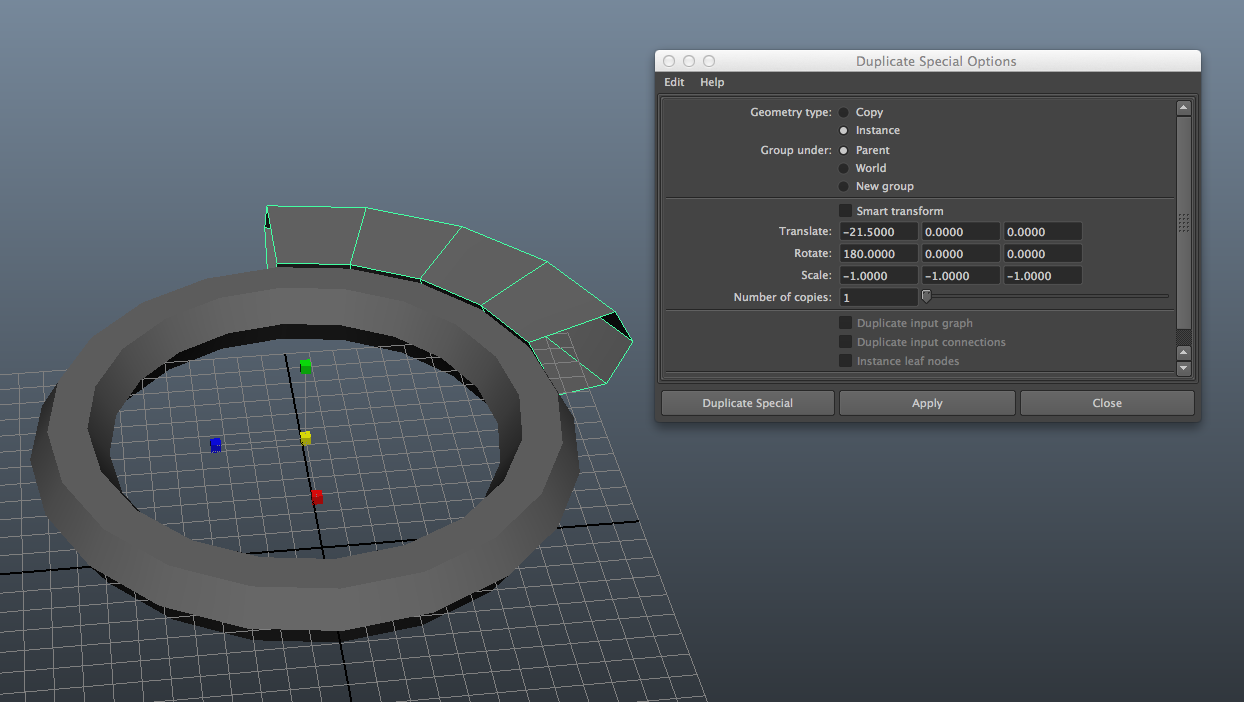
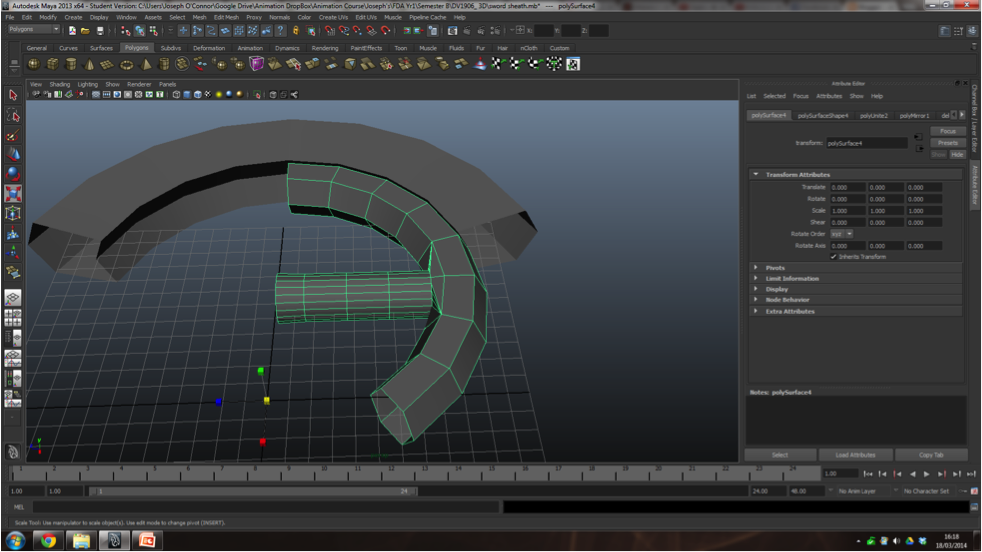
I have used duplicate special on the grip ring, so I can have the mirror preview that I have with the Blade ring.
I don't have to worry so much about the gap in the ring, when I come to finish the model, I will pull the grips elongate section inwards, mirror and then use the merge vertex tool to merge the vertex's of the grip, selecting the two vertex's first then using the tool. This will enable a function I can only describe as approximated meeting point, it uses the selected vertices and merges them into one point that is in the middle space of the two.
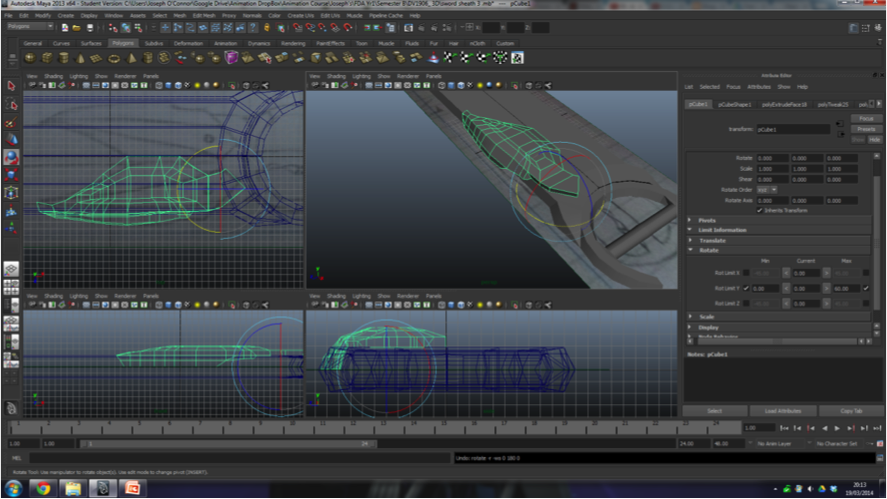
I wanted to make sure the scale wouldn't break the middle point I had purposely created, so I double clicked the scale tool, which brings up the tools settings:
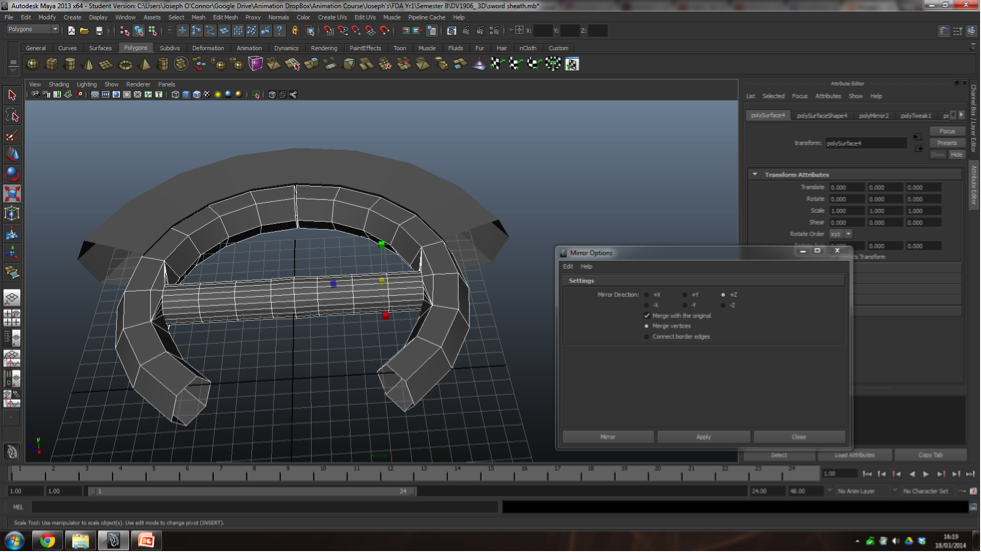
after doing this, I then changed the scale axis, so that I could change the scale from the centre of the object to the middle section. I changed the scale axis to the rotation axis, that way it would scale in towards the mid point of the sword rather than the mid point of the object.
Just thought about the ability for the sword to transform. I will first make 2 models, for static use, then I will duplicate one and cut the duplicate up to have the working parts.
I have a strange feeling that once I combine the outer and inner layers (which I have created to give the outer blade/sheath part a bit of thickness) this will confuse the duplicate special part and it'll disappear. if so, I will just have to repeat the duplication.
I was right, the duplicate deleted itself. however the problem now is the append to polygon tool. it seems to have a problem creating the face when I select the two edges of the object. I have combined them, but will try extruding the edges and then using the merge vertex tool.
I have extruded the edges and like I mentioned above, I merged the vertex's clicking on the tool after selecting the two points, in order for them to merge in the middle of the two points.
The sword guard part has become over complicated and I am going to start again with a cube with less divisions and extrude from it, rather than trying to manipulate a complex object.
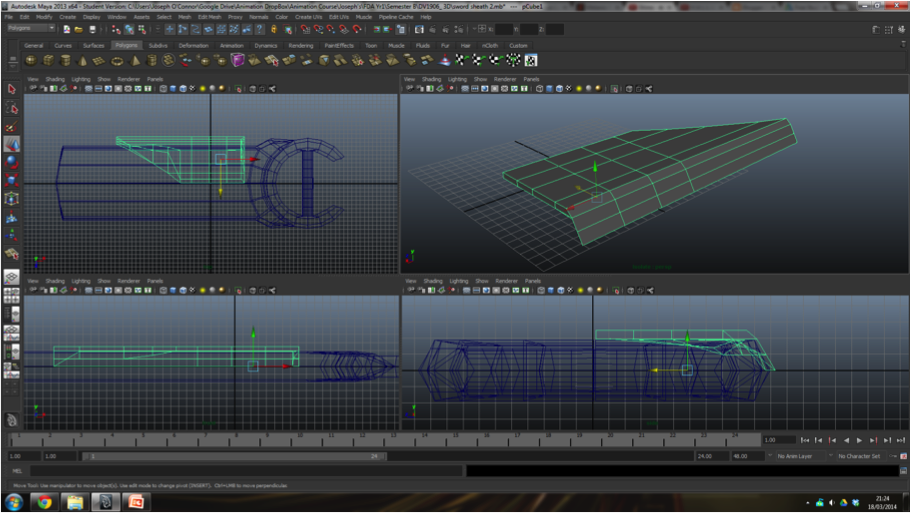
I created a guide, using an image I drew of the model and I imported it as a plane.
Since I am working on a PC, the controls and keyboard keys are different to that of a Mac. I was hoping to change the centre point of the sword guard, so it could rotate on a spot when changing to sword mode. I know the short cut on the Mac is the up/right diagonal arrow, but I need to look up the short-cut for PC.
I found a tutorial that told me to hold down D whilst using the move tool to be able to move the centre pivot of the object.
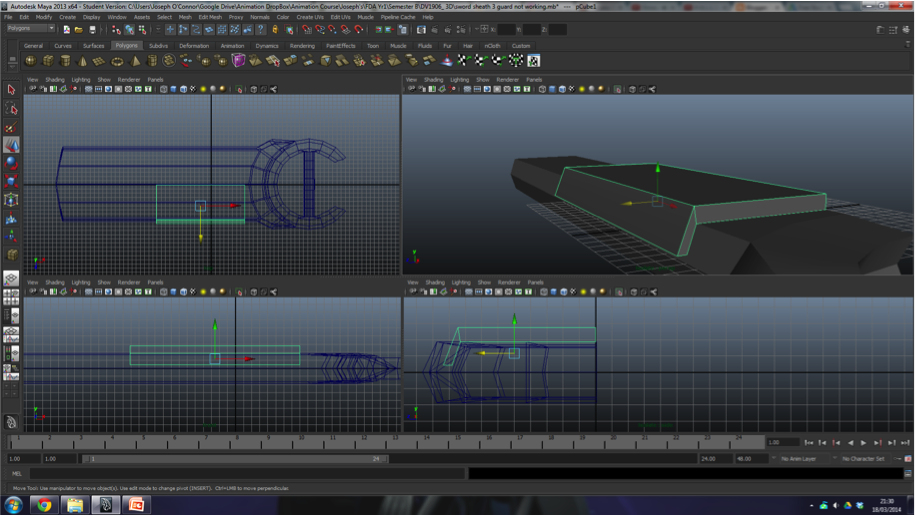
Above is a screenshot showing that the short-cut worked.
Below, I have used duplicate special on the sword guard and then moved it using the move tool. I also just tested whether the limit information carried over to the duplicate and it has, which is something to keep in mind for future reference.
To quickly explain the reason why I am making three models. I am going on the impression that it would take less time for rendering a production quality video if the objects were simpler when they were static.
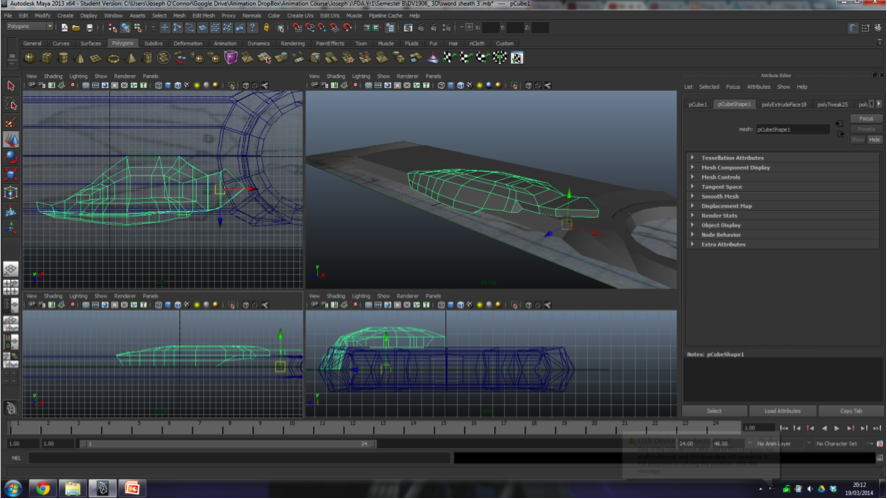
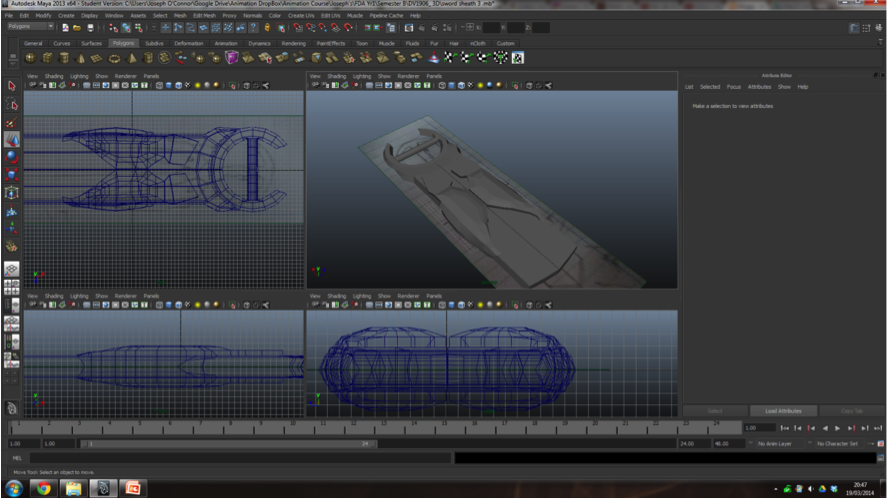
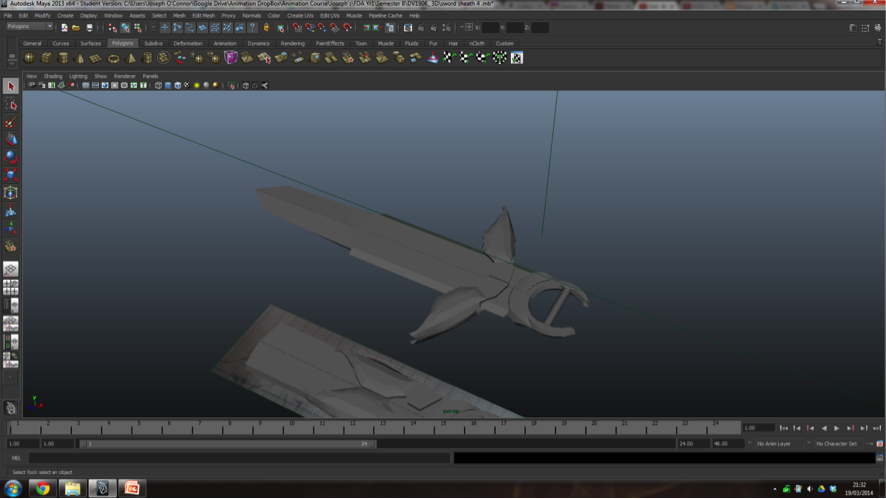 I have made sure that the blade is
just the right size for it to fit inside of the sheath, using the top view.
I have made sure that the blade is
just the right size for it to fit inside of the sheath, using the top view.
Above I have added materials to make the, but I have run out of time, so I can't animate the model changing from one to the other.