First I will be making something simple, so I think I will choose to create a water bottle, since it should be quite simple with the extrusion tool.
I am going to start with a cylinder base and work from that.

Above, I have used the attributes editor to edit the amount of subdivisions that the cylinder has. I have changed it from 8 to 20, to give a nicer roundness. I have made this change now, rather than later because I tried to extrude the object before adding more subdivisions and the object became a mess of edges and vertexes went everywhere. This is all to do with the history of the object and the history stores data on all of the transformations.
Below is the object with increased subdivisions, and I have also selected the faces and moved them up using the Y axis section of the move tool.

Below I have clicked on a different tab of the attribute editor, the tab that allows me to edit the location and translation of the object by inputting numbers. I have risen the object by 1

For the next lot of screenshots I have used the extrude tool, which is a tool I know I use a lot.


Using the move tool, I tried to make the tip of the water bottle seem slightly pointy, but it looked too pointy, so I undid it, this is where something interesting happened,
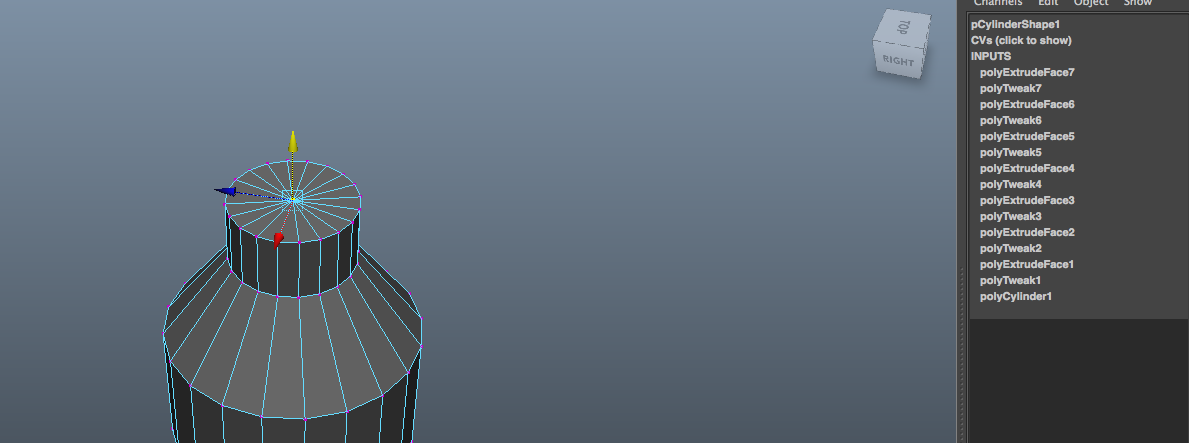 CMD + Y, I thought would redo an action that I had just undone, using the shortcut command CMD + Z, but I believe it re-uses the last used tool and places the tools effect on whatever is selected. Using the channel box, I was able to find out what changed and it was (as shown below) an extrusion on the Vertex that was selected. This has helped me luckily, since I was going to insert loop edge anyway and this has done it for me.


Using Extrude, I have created the connecting piece that holds the flip off cap to the bottle.,


Above I have rendered the image to see how it looks. The bottle is very bland having no colour, so I will fix this.

Right clicking, selecting faces and then right clicking again and going down to the "assign material" option, I am going to make the bottle slightly transparent.


No comments:
Post a Comment