As an introduction to Maya, I have been given a brief overview of the tools and capabilities of the software. I will be looking at a tutorial today to re-familiarize myself with the software and to create a basic polygon. After I have done this, I will create my own basic polygon of my own design.
Using the tutorial available
WITH THIS LINK HERE, I will be able to create a simple looking temple structure.
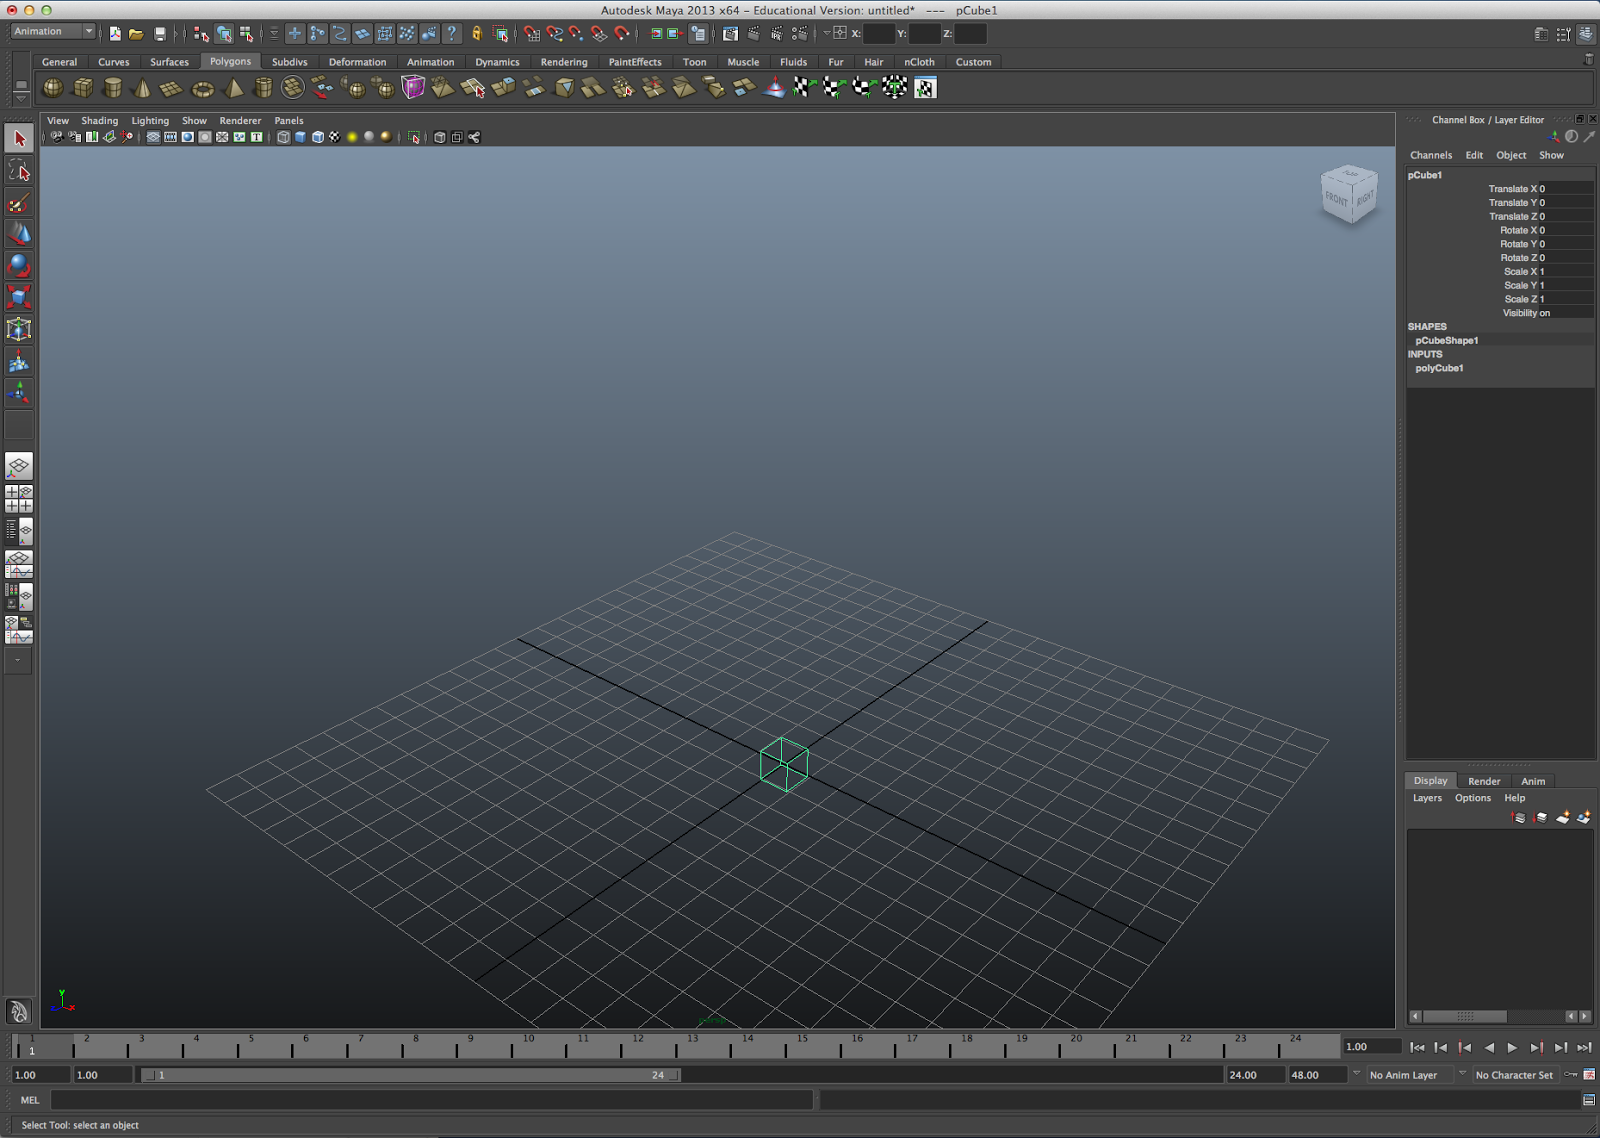
Above is a screenshot of the layout in which the tutorials are presented, The links on the left side, which contain details about their individual task/tutorial.
As the tutorial above suggests, I will be turning off interactive creation. I believe this may be the option to reshape the polygon, as in determining the width and length and height when creating the polygon. When this is un-ticked, I have found that the object just appears in the middle of the screen, it doesn't have any immediate input from the user in it's creation.
When I have used maya before, upon clicking the polygon tool, I have been able select the dimensions as I drag the mouse.
A prompt for the user appears (when interactive creation has been enabled), and below is a simple completion of the task. As shown, the shape is of user input size.
Going back to the tutorial now, I am looking at the simplified version of the Maya layout. I will be using this screenshot below as reference, since I don't know the names for all of the tool boxes.
The rest of the tutorial explains the basics of the tools, which I already know, however I will skim them, to quickly make sure I understand all of the tools as in depth as needed.
Before I move on in the tutorial, my tutor, has just shown the class (me included) that the creation of polygons don't just come from the icons in the shelf (which changes depending on the menu selection in the status line), they can also be created through the long way of going to Create/ Polygons primitives/[Any option].
With the polygons that can be created, there is a little box next to the word (as shown below). This box is the settings that the polygons will automatically be created with. Also shown below is the pathway to ticking/un-ticking "Interactive Creation".
Below is the creation settings box for the Cube polygon
And after changing a few of the settings to make the cube bigger and include more divisions, the settings are as so:
After creating the polygon cube above, I moved it using the move tool and then went to the shelf (pictured below).
After creating these settings, this changes the default creation settings. such as when I click the shortcut Icon (pictured above), it now places a cube of the default measurements, in the centre of the grid (As shown below).
Back to following the tutorial, I have found a few sentences that will prove helpful (The image above the sentences is important as well, otherwise it loses context).
The first two are simply the menu for the shelf (as mentioned earlier) and then the main options for any application (New file, Open file, Save).
Skimming through the rest of the interface information, I have found that it isn't anything new, so I will now move onto the creation of a simple temple. Below, I have gone to tutorial on the creation of the first polygon. Below I have taken a screenshot of me adding the settings as I have the tutorial side by side with the
After creating the first shape (a cylinder), I was brought to a page telling me to switch to the "four view" mode, which gives me the view of four screens when modelling. Top, Side, Front and 3D view (shown below)
After changing the view, I used the move tool to raise the shape from having the grid through the middle of it to being on top of the grid. I then saw that as I raised and lowered it, a value in the channel box to the right was changing. I found this to be the "Translate Y" number, which values the movement from the shapes original Y position.
I then typed in 0.5 into the "Translate Y" input box as I found this would move the polygon to being on top of the grid.
After revising the basics of Maya, having worked with it just under a year ago, I think I can move onto making something of my own design, that way I will have ore enthusiasm for it, rather than following a tutorial. I will have a look over the tutorials steps to make sure I remind myself of the main tools that I have at my disposal.


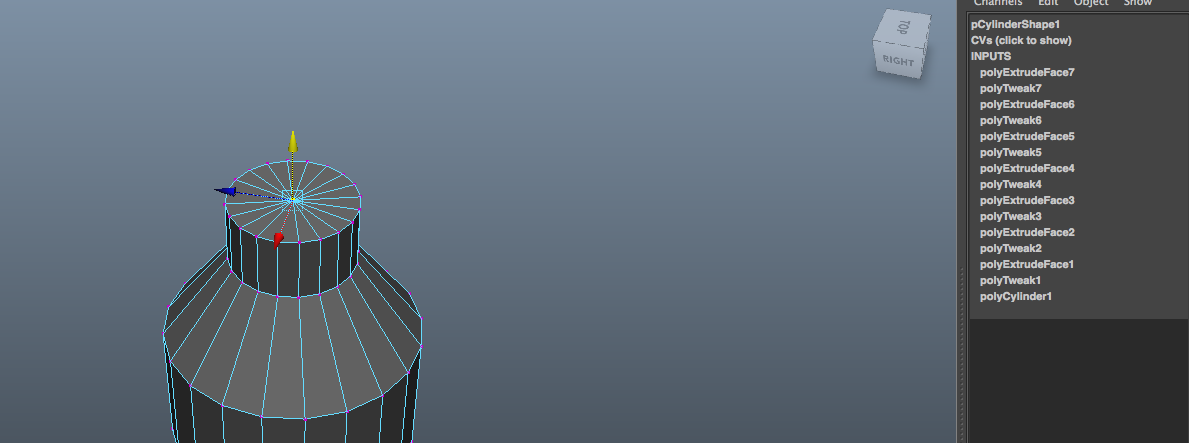 CMD + Y, I thought would redo an action that I had just undone, using the shortcut command CMD + Z, but I believe it re-uses the last used tool and places the tools effect on whatever is selected. Using the channel box, I was able to find out what changed and it was (as shown below) an extrusion on the Vertex that was selected. This has helped me luckily, since I was going to insert loop edge anyway and this has done it for me.


